Skip to content
Mo + Ray's Kitchen
Mo and Ray are two vegetarians in love and eating healthy!
Menu
About
A day of French-inspired food
February 19, 2017
February 20, 2017
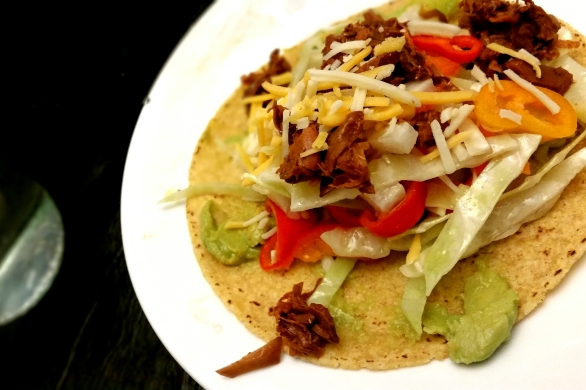
Jackfruit and Jicama Slaw Tacos
February 4, 2017
February 4, 2017
Kid-Friendly Wheat Butter Crackers
January 30, 2017
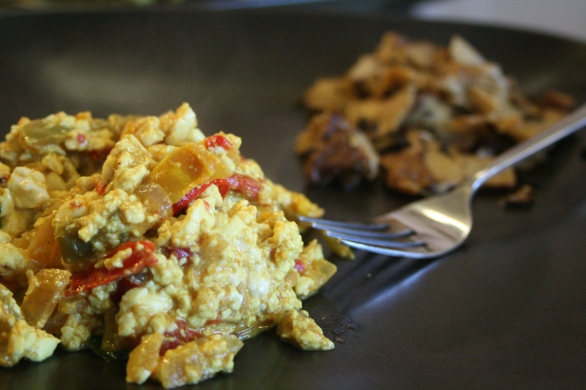
A day of eating
November 29, 2010
January 30, 2017
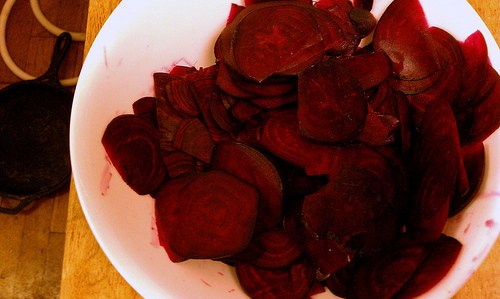
Beet Pickles!
August 3, 2010
January 30, 2017
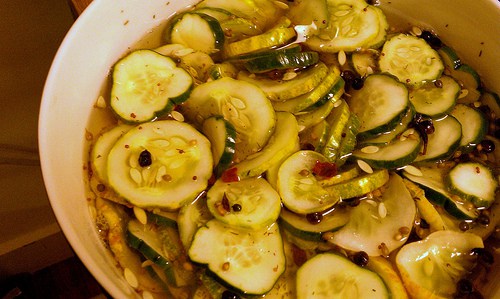
Pickles!
August 1, 2010
January 30, 2017
Espresso Machine
April 17, 2010
The Durian Experience
January 24, 2010
January 24, 2010
Butternut & mushroom soup and yummy crusty bread
January 17, 2010
Stretch Your Veggies!
January 15, 2010
January 15, 2010
Posts navigation
Older posts
Privacy & Cookies: This site uses cookies. By continuing to use this website, you agree to their use.
To find out more, including how to control cookies, see here:
Cookie Policy
Subscribe
Subscribed
Mo + Ray's Kitchen
Sign me up
Already have a WordPress.com account?
Log in now.
Mo + Ray's Kitchen
Customize
Subscribe
Subscribed
Sign up
Log in
Report this content
View site in Reader
Manage subscriptions
Collapse this bar
Loading Comments...
Write a Comment...
Email (Required)
Name (Required)
Website